
What getting ready for Easter 2012 looked like...
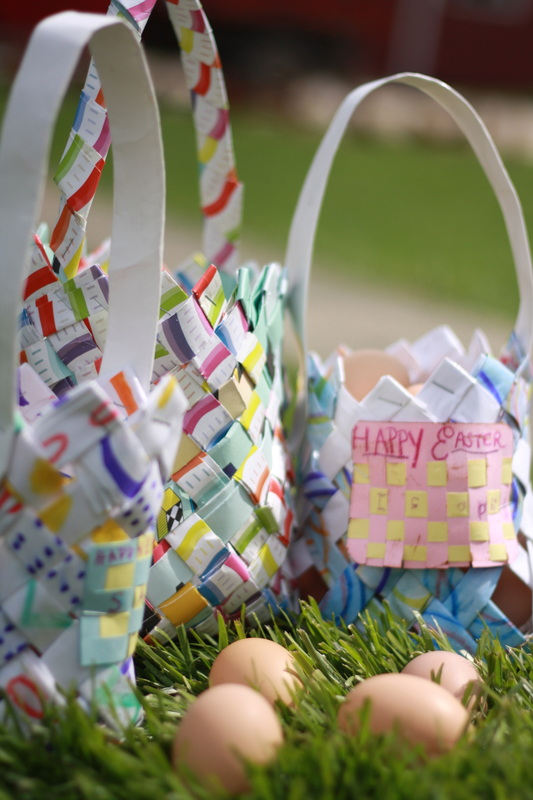
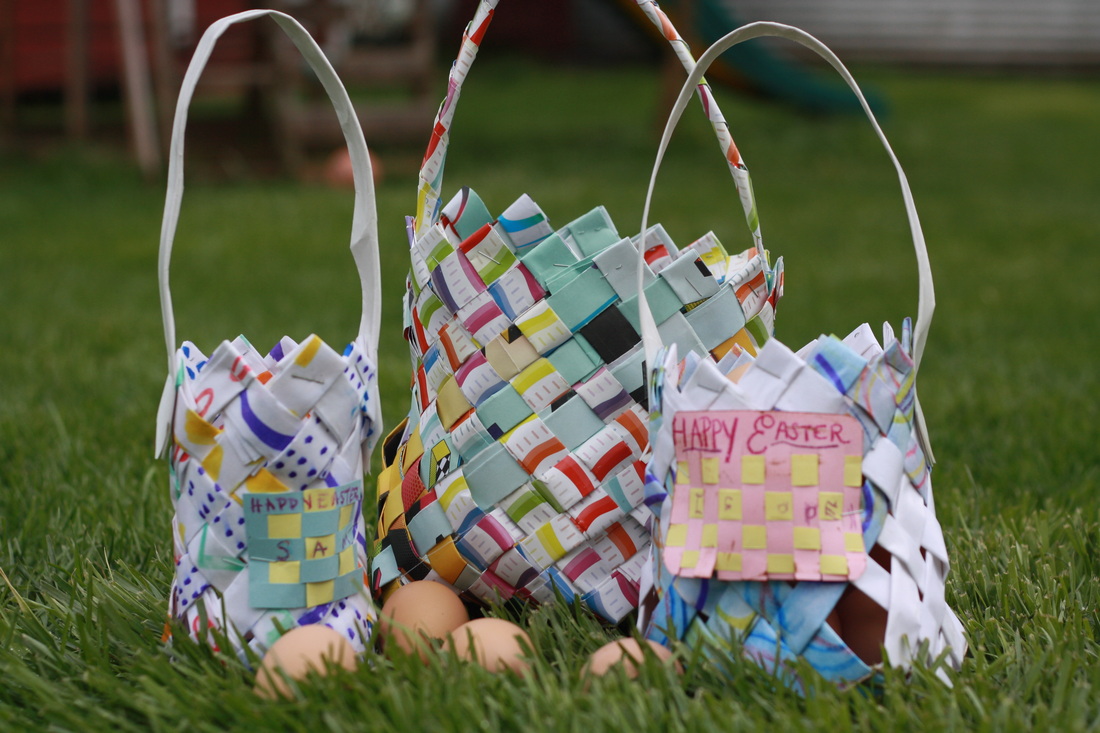
I decided I was going to make the kids Easter baskets. I found this project about a year ago. The level said easy and only would take 3 hours. It took me 3 weeks. Isabella even suggest I could just buy baskets at the store. It was a learning curve, but I didn't give up. One of my high school student encouraged me by saying "Thomas Edison had to fail millions of times first, before he had one success, a light bulb." How could I stop at one basket.
Here is how I did it.
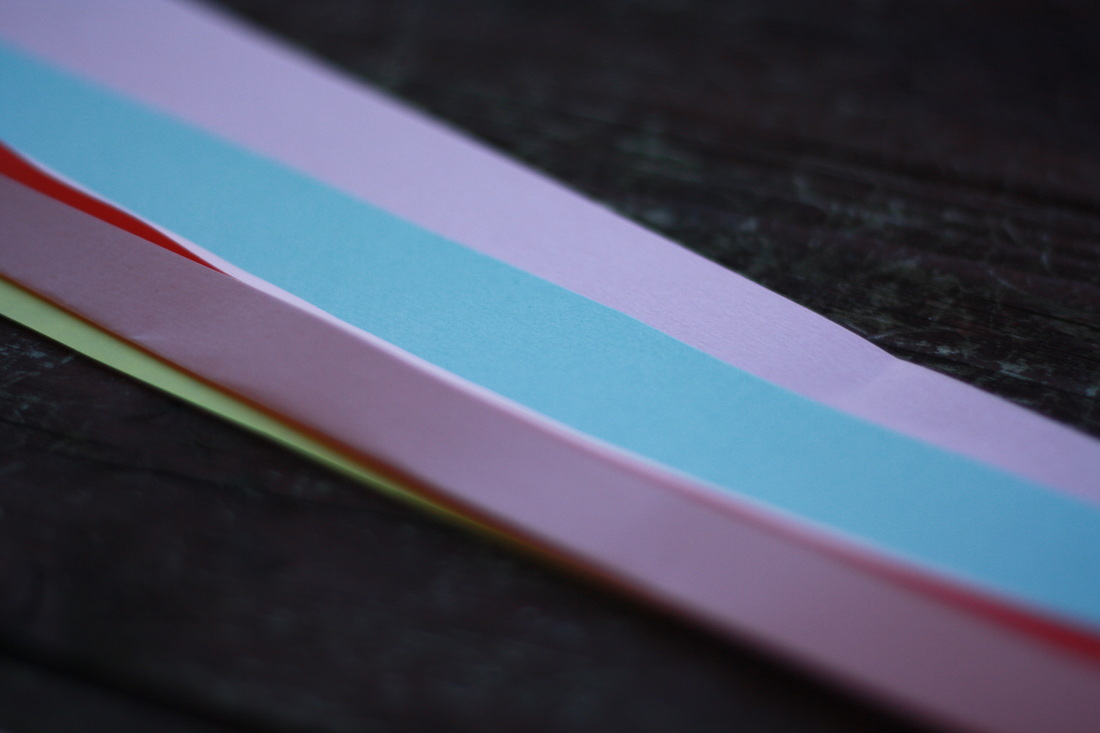
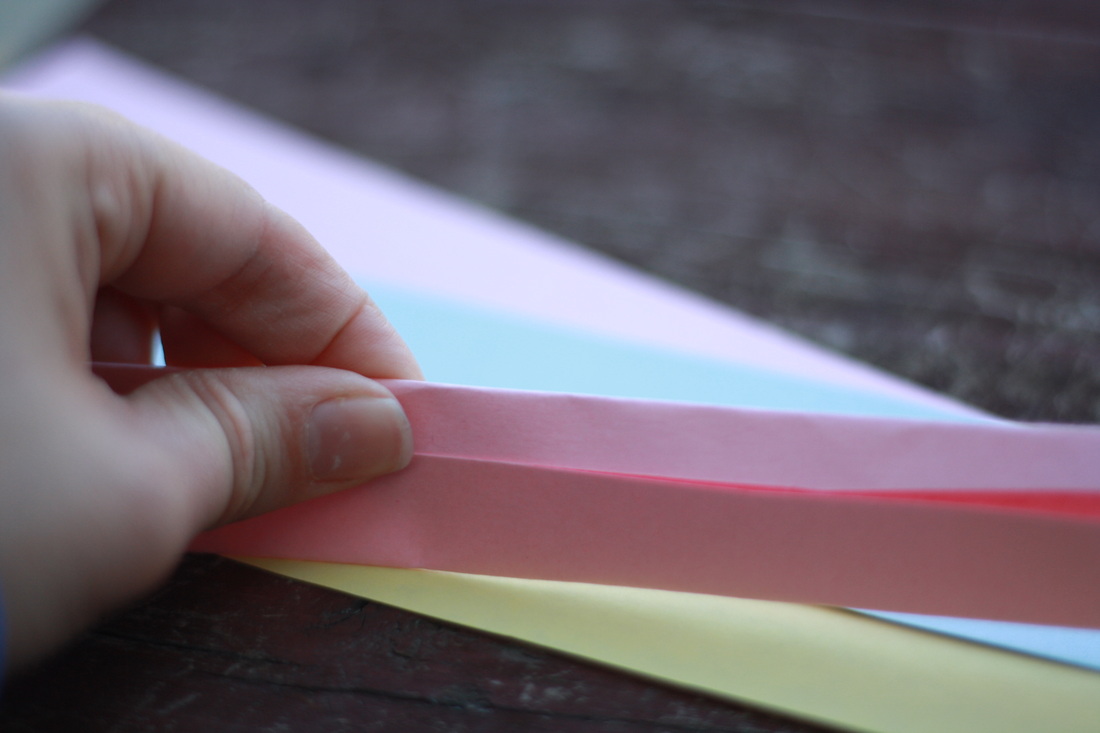
Step 1. Long strip of paper. Could use old poster, wrapping paper, old paper, newspaper, or even a map would be neat. Cut in to 2.5 inch strips. Make it as long as you can, mine was 36inches. Then fold over both sides, till the meet in the middle. Then fold again, should be one even and crisp strip.
Step 2. Begin to weave it together. Might help by saying; over, under,over, under...
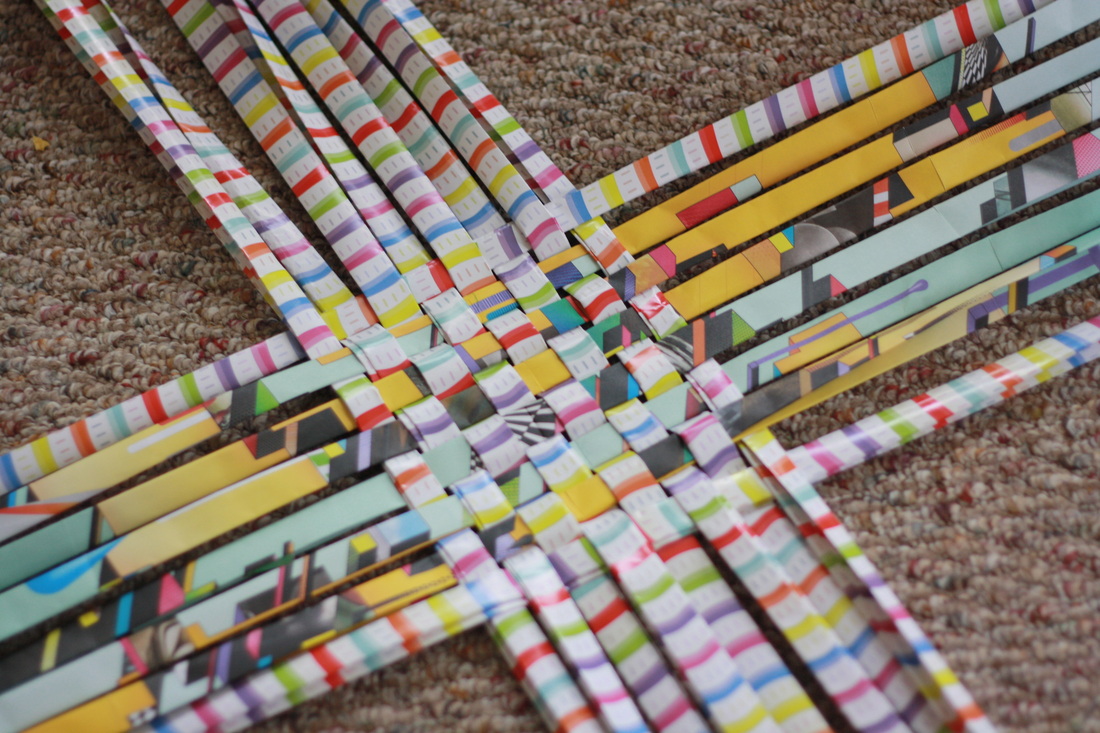
Step 3. Weave in to a square base. Mark the base by twining around the edges.
Step 4. Weave the sides, working one side at time. Divide the weavers on one side in half and weave the halves together.
Step 5. Join the diamonds by weaving them together. Continue weaving as long as you'd like your basket to be tall. You'll notice that if you follow one weaver, it travels from one side of basket to the other.
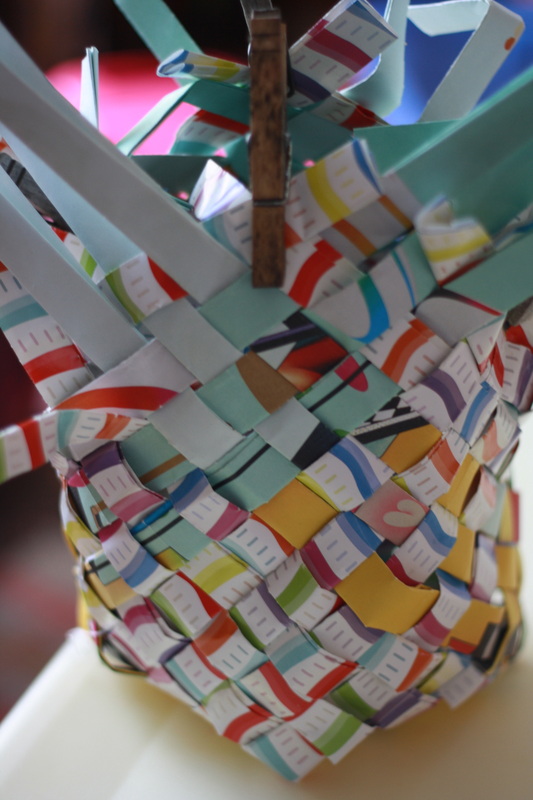
Step 6. Finish the edge. To make a pointy edge, take two weavers and cross at the edge and fold one over the other and down into the weaving on the inside. Repeat. (I stapled my top and handle on to give it more strength, knowing my kid will be using them.)
Inspiration: Woven Map Basket
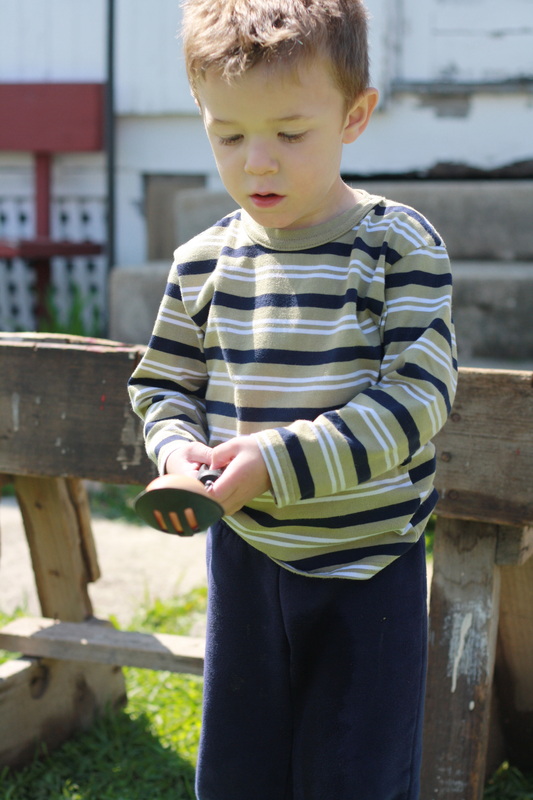
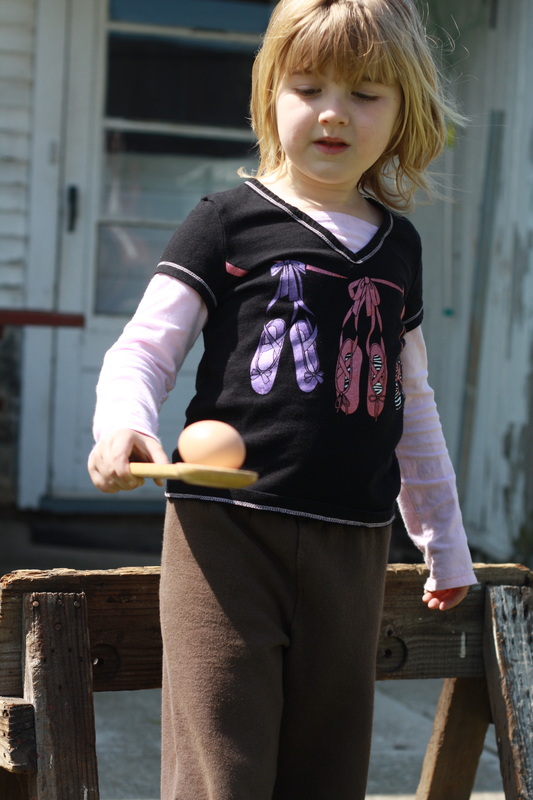
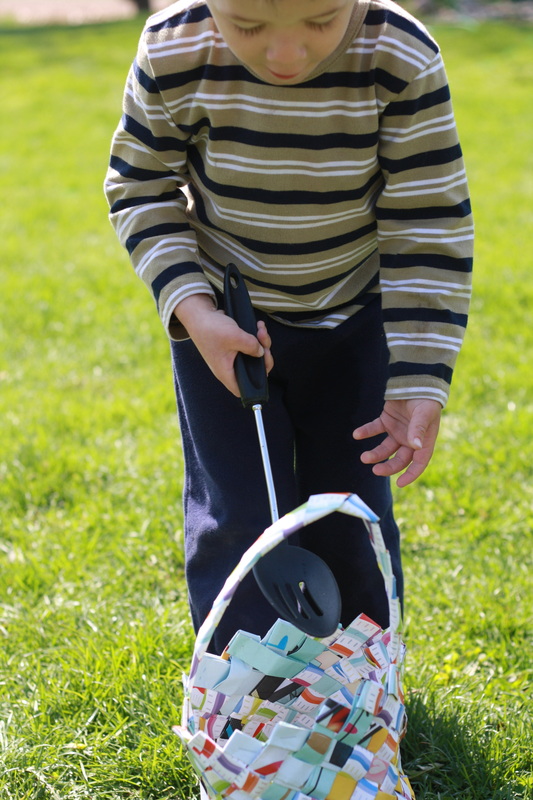
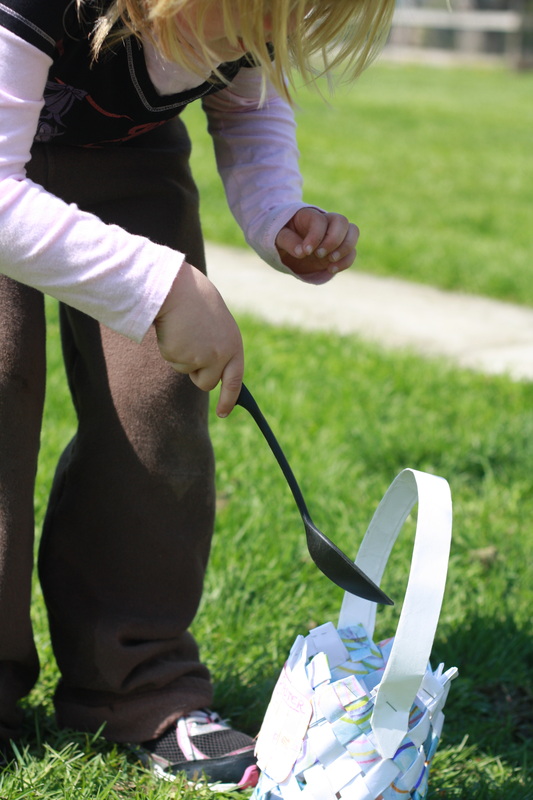
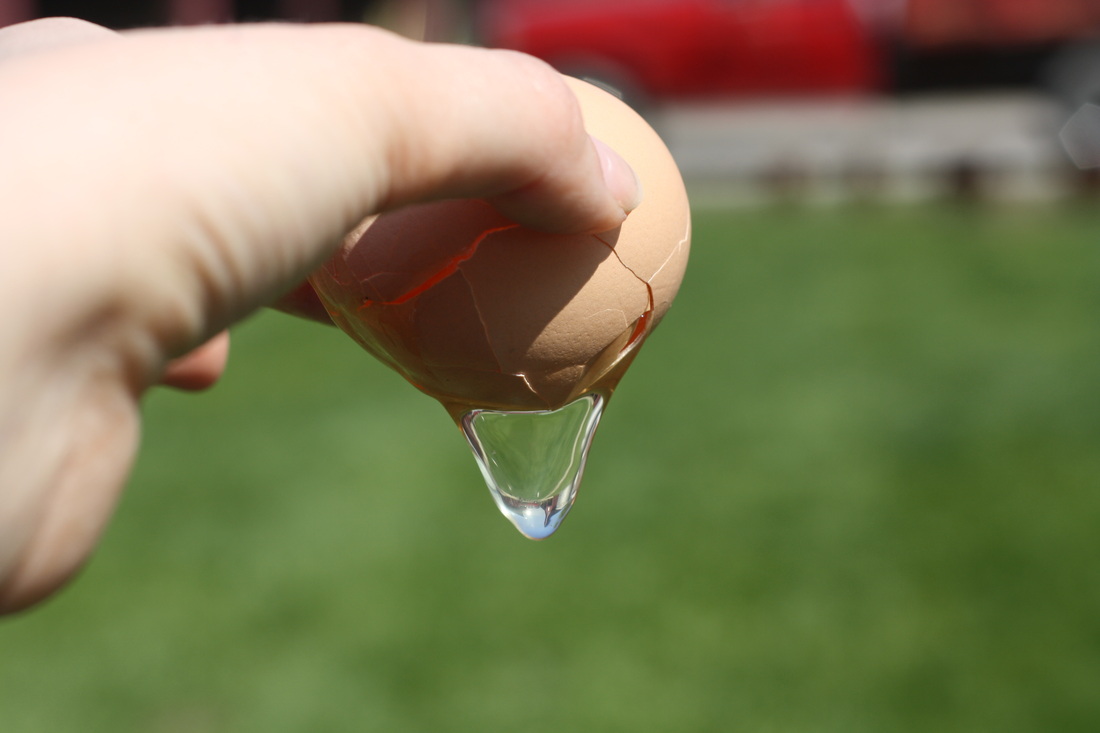
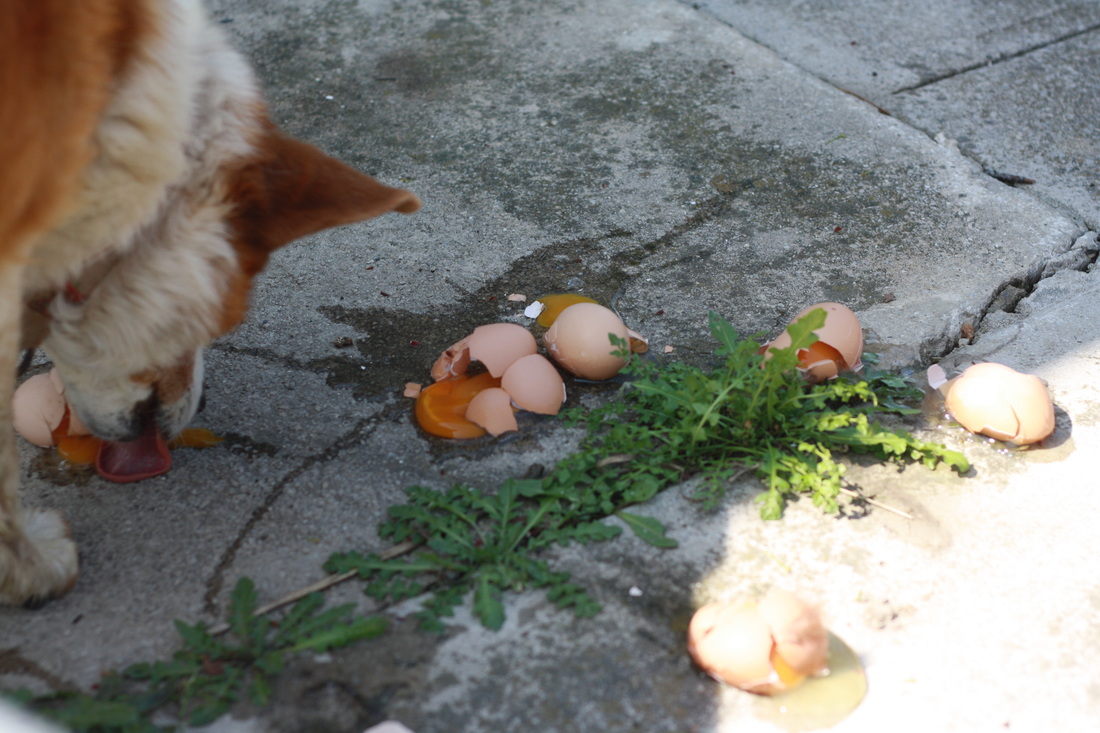
Fun times playing balance the eggs on a spoon and place it in the baskets. I broke a hold carton of eggs before the game even started.

"Share early, share often!" {Liz}


 RSS Feed