Winter is here and snowmen are being built. First snowmen creation, is a 2x4 scrap piece of would I found in the school shop room when I was looking for a place to store some school supplies. Spray painted it white and...
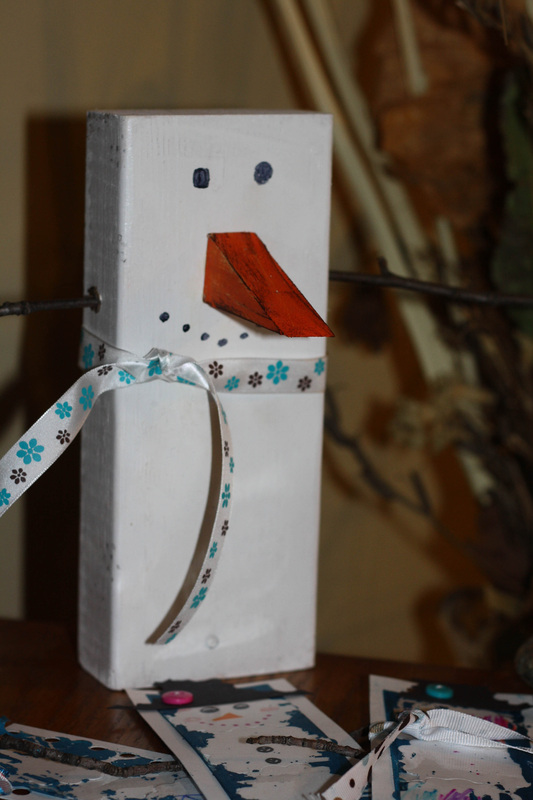
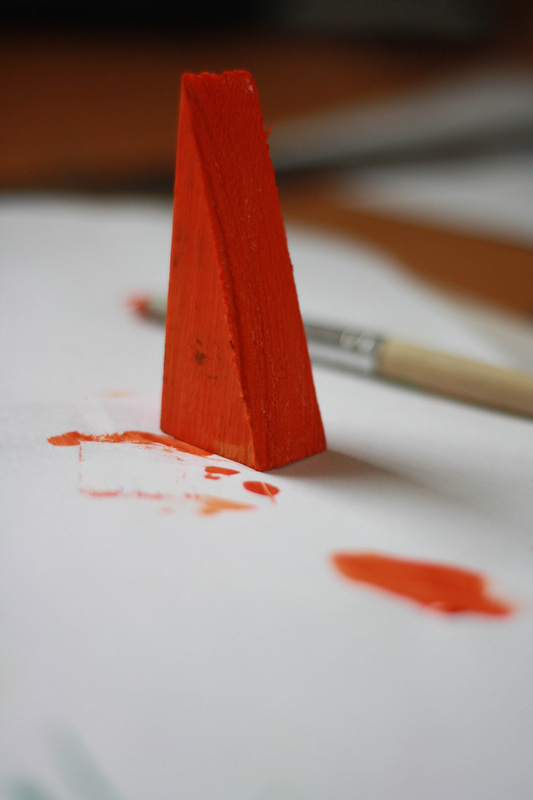
I add a nose to my snowman. The nose is a piece of scrap wood that I found next to the table saw. It makes a perfect carrot nose. Painted it with acrylic orange paint and used distress ink to give it value. Then used nail glue to attach it. I add two piece of branch stixs that I found laying in the yard. Screwed in holes, no glue need it, prefect fit. For eyes and mouth just used permanent black marker. Signed the back with my name and date. That's it!
Inspiration from: http://www.craftaholicsanonymous.net
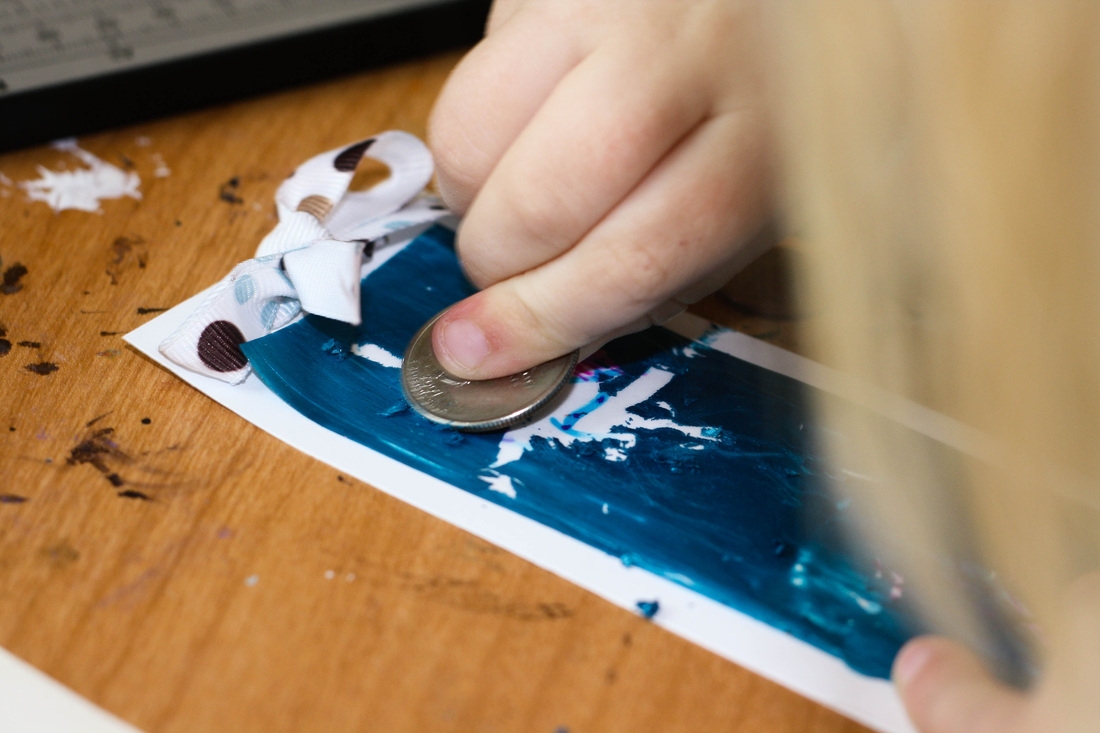
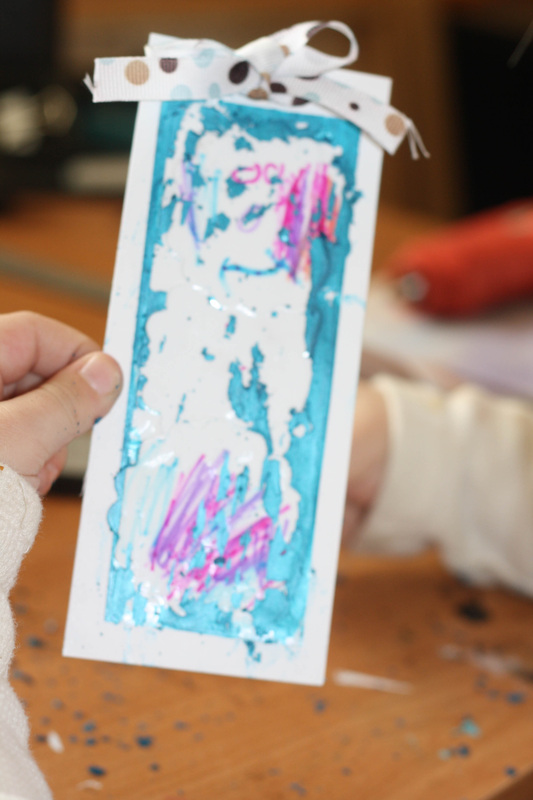
Scratch away snowmen
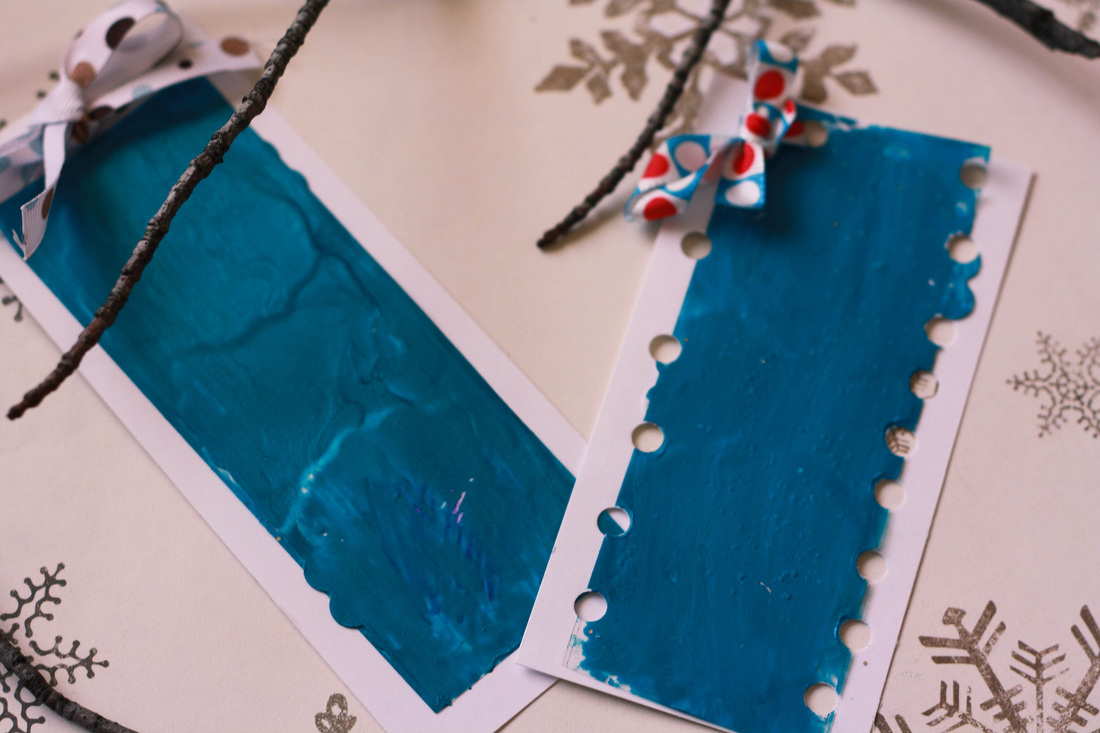
Now you DON'T see it!
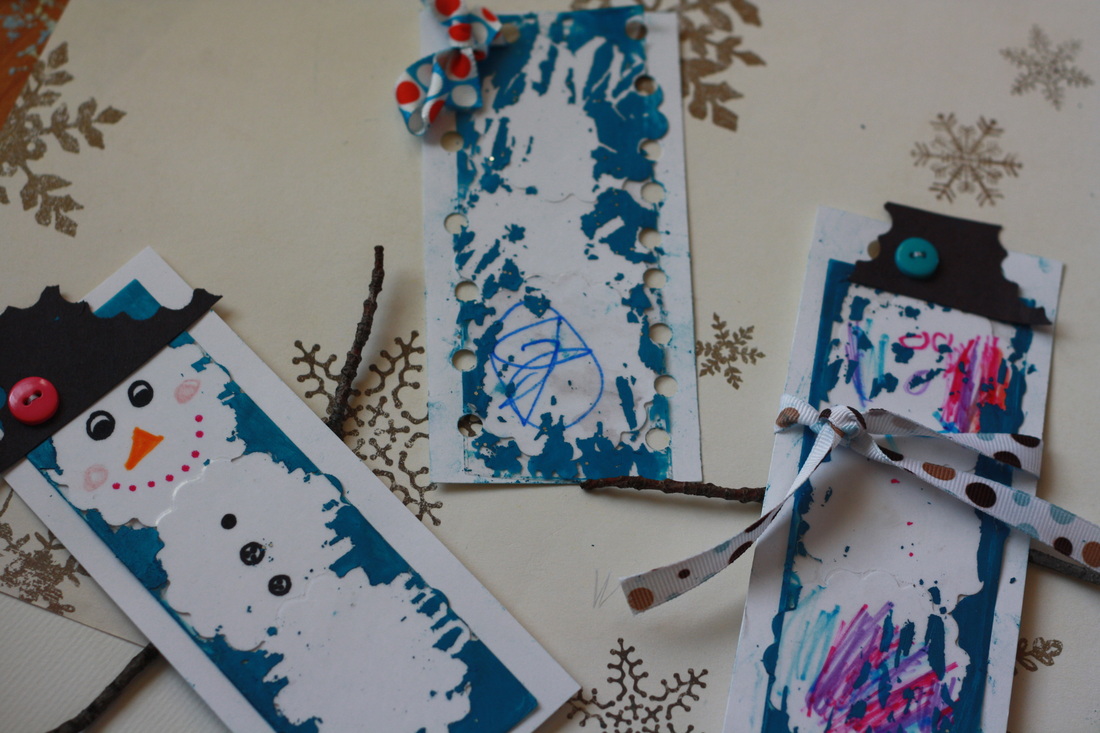
Now you DO!
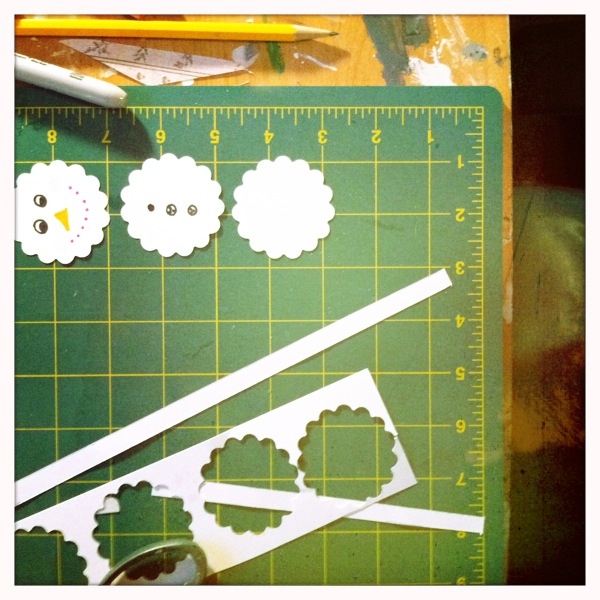
- First, I cut three piece of paper with my Fiskars Squeeze Punch cutter.
- Second, used permanent markers to draw in snowmen.
- Used clear tape to cover the three pieces of paper that made the snowman.
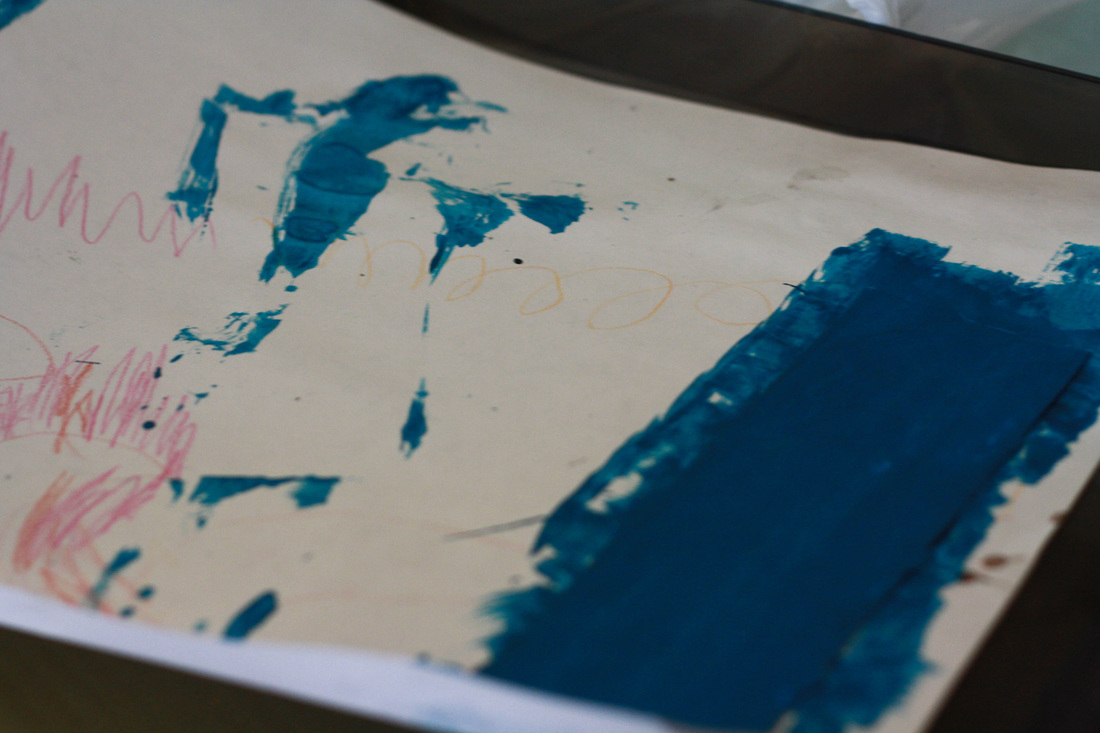
- Then mixed 1 part acrylic paint with 1 part dish soap. I just eye balled it.
- Then painted over it and let dry for few hours.
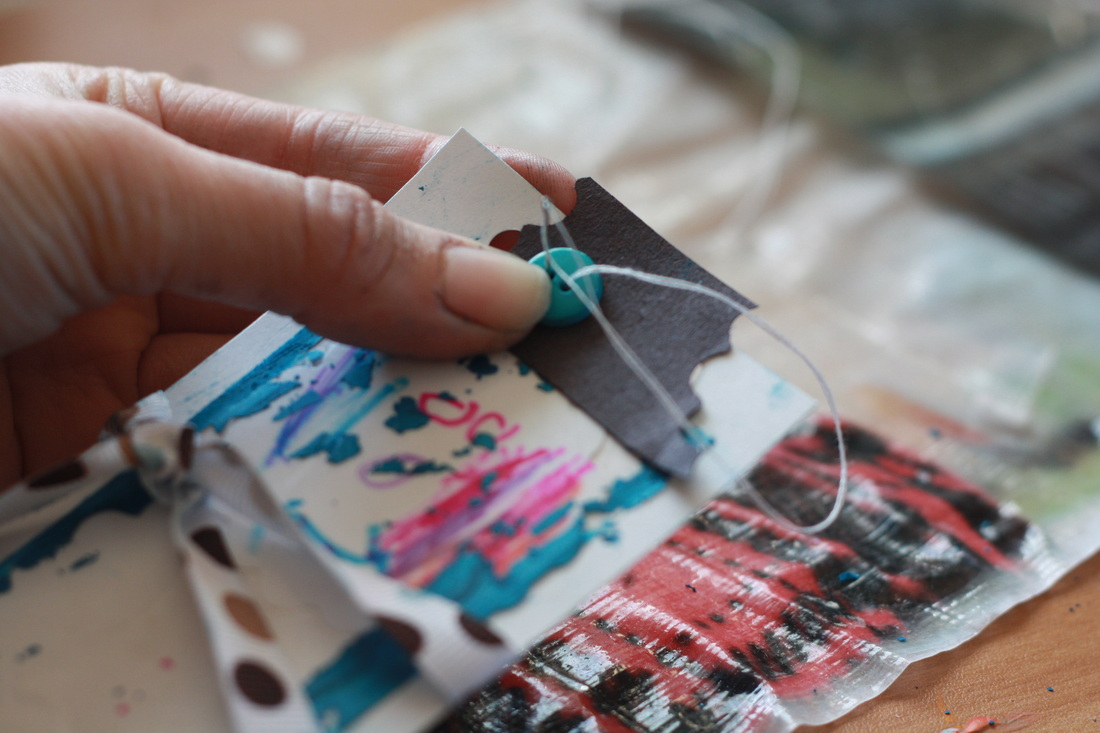
6. Add card stock paper for backing put a hat on it and Isabella said "What about a scarf", you see one with a scarf, that hers.
7. I add a hat from piece of scrap black paper and sew on a button.
7. I add a hat from piece of scrap black paper and sew on a button.
Inspiration from: Parenting Magazine
Give it a try... let me know how your turn out!


 RSS Feed